.png)
Perculus - Basic Student User Manual (English)
Ürün/Product: Perculus (Web) |
PDF of the Manual: Perculus - Basic Student User Manual.pdf
1. Joining Online Lessons and Virtual Classrooms
From the My Lessons menu, we click on the course where your live lesson is located. Then we observe the Virtual classroom activity. When we click on the green button, which is the Join Button, the virtual classroom window will open as a new window.

1.1. Opening a Camera in the Virtual Classroom
In order for you to turn on a camera during class, your instructor must first give you permission to do so. You can understand that you have permission by clicking on the camera icon. There are two ways to open the camera;
First, click on the Camera icon located in the middle of the screen. Then you can choose your camera from the Camera options.


Latter; When you click on the camera icon opposite your name in the Users section, your camera will open.

Additionally, your instructor can turn on your camera, but it is up to you to approve this. Do not click the Yes button to confirm.

1.2. Turning on a Microphone in a Virtual Classroom
In order for you to turn on the microphone during class, your instructor must first give you permission to do so. You can understand that you have permission by clicking on the microphone icon. There are two ways to turn on the microphone;
First, click on the Camera icon located in the middle of the screen. Then your microphone will turn on.


Latter; When you click on the microphone icon opposite your name in the Users section, your microphone will be turned on.


You can understand that both your camera and microphone are turned on by seeing the icons at the bottom and on the right panel.
Additionally, your instructor can turn on your microphone, but it is up to you to confirm this.

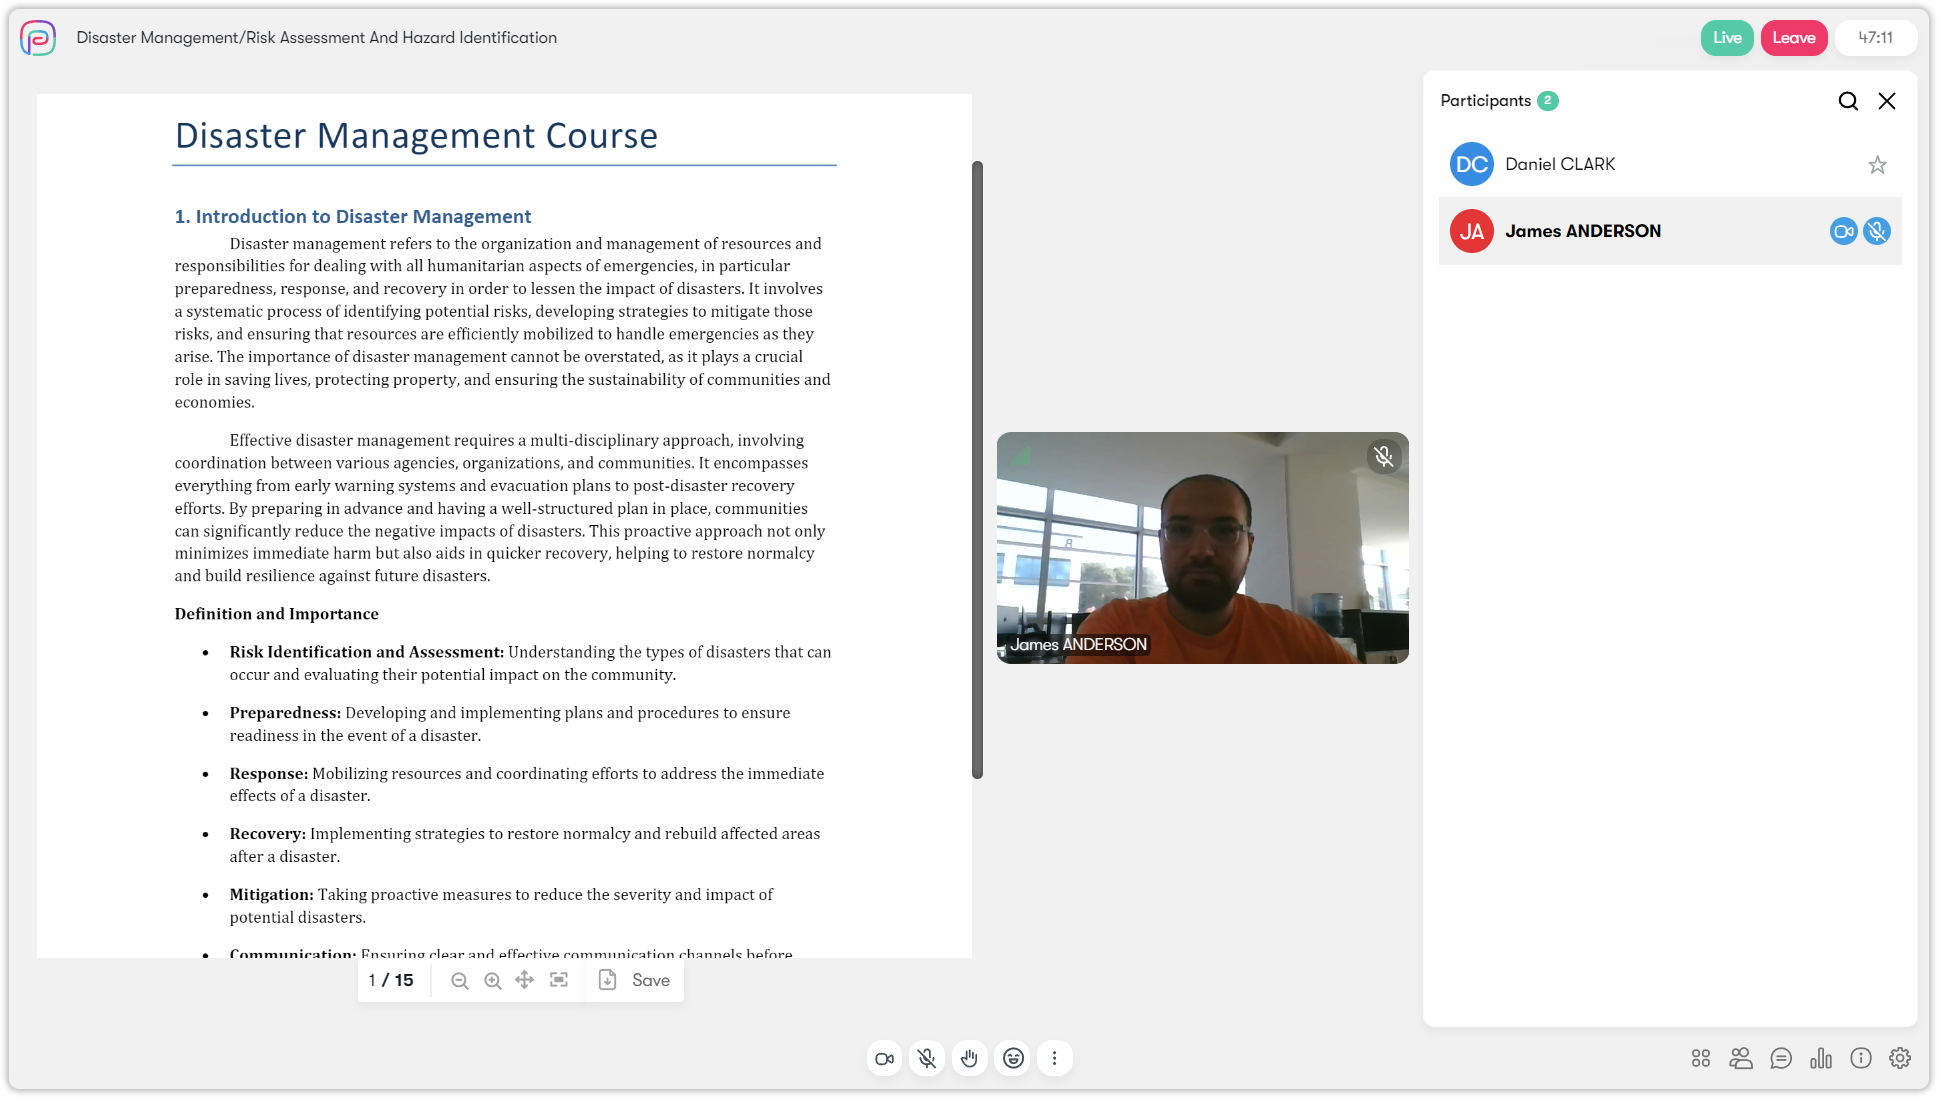
1.3. Uploading the Presentation File to the Virtual Classroom
First of all, your instructor will need to authorize you to upload your homework file to the system. When you authorize it, the left panel will become visible.
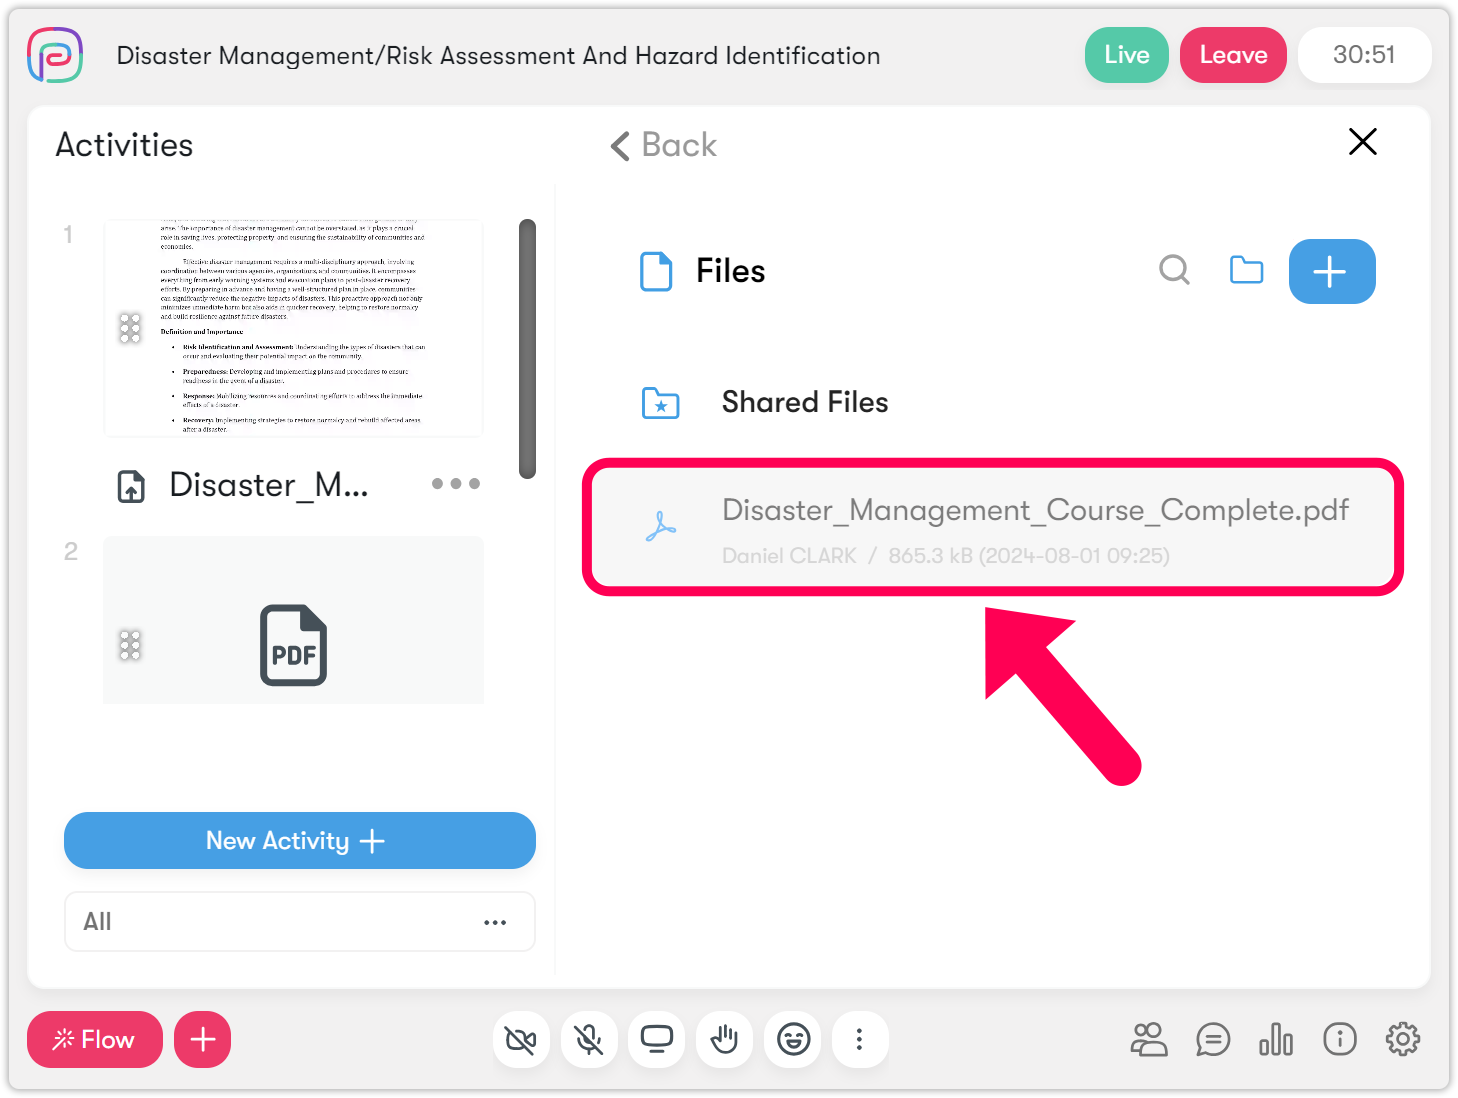
Step 1: You should open the menu of activities that can be added to the system by clicking on the plus icon.


Step 2: Then, you must select the Upload Document option from the menus that appear.

Step 3: You can select your Presentation file by clicking the blue plus button. After selecting your file, you need to press the Open button.


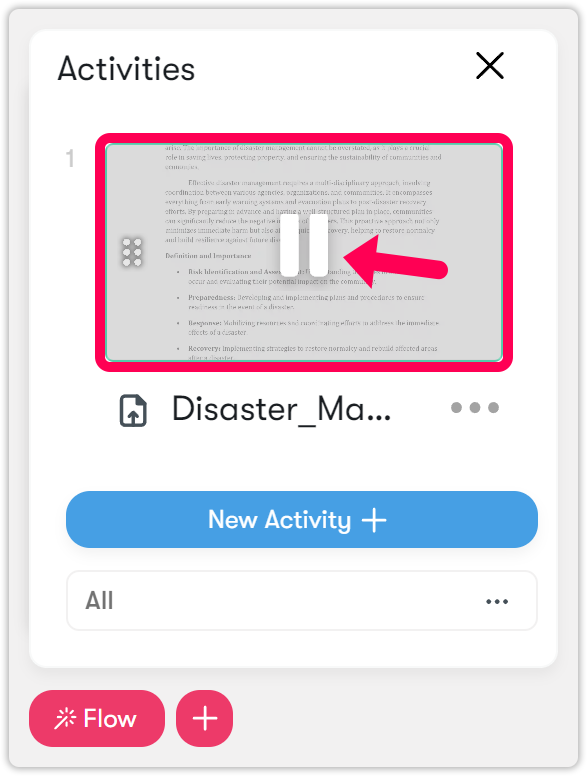
Step 4: After your file is uploaded to the system, you need to point and click on the file you uploaded, since it is a document that is already used in the virtual classroom.

Afterwards, you will observe that your document is opened in the virtual classroom. You can also test the visibility of your document from the Flow menu. You can understand that there is no play button by the sign that the content is playing.

1.1. Asking for a Speak in the Virtual Classroom
To ask for a say in the virtual classroom, you must press the raise your hand icon located in the middle of the page.
2. Watching the Re-Recording of the Live Lesson
In order to watch the course recording, the course must have taken place and finished. Lesson re-recordings are uploaded to the system approximately 15 minutes after the end of the lesson. When you press the Watch Replay button, the course recording opens in a new window.
